Well, the matters had officially went into a disaster zone. It official now that I do have a sleeping crisis, which makes my "whole" life is idle. Well, in case I can call it a "life" anyway. Not only I've skipped my eye appointment on 13th, but I had to stop writing my Arabic blog for some time and I'm seriously considering making it on a monthly basis, for the lack of topics so far and the hardship in organizing my thoughts. Needless to say how that affected my other projects as well concerning Languages and Conlangs. All what comes to my mind right now is sleep, sleep, and more sleep.
They say we had a "supermoon" this week, specifically on July 12th. It did sound like a good idea to try out my Rokinon mirror lens of 800mm, with two 2x teleconverters (for a total of 3200mm). However, and pardon me, just thinking about working in this weather and heat (even at night) with my cumbersome schedule now, did sound more like a fantasy! And with "fantasy" I mean something to be found in children's book or Hollywood movies.
Instead of doing this astro-adventure, I thought for a moment about the possibility of doing an extreme macro experiment with this mirror lens like I used to do with other telephoto lenses before. If we combine 800mm with 2 teleconverters (2x each) then we are assuming that total focal length is 800x2x2 = 3200mm. Now, if we combine a 50mm lens in reverse to this combination, we are supposed to get 64x magnification (3200/50=64). Logically, this is supposed to mean that 1mm dot in reality, should be projected as 64mm on the sensor (or 6.4cm, 2.5in). Despite my trials, the situation was hard to achieve mainly because of the design of the Rokninon mirror lens. This lens resembles the catadioptric telescope in its design and the large difference in the diameter of the objective (the front of the lens) made it hard to combine another lens in reverse. Even though I tried to place the 50mm lens in front of it to some distance and covering the gab with black cloth to block the light. Here, I was working in horizontal manner instead of hanging the camera high up as before and dangling it over the specimen. Anyway, It was hard to work that way and technically nothing was to be gained from such setting. I had to go around it in some way. The answer to the problem then knocked into my brain with Tamron 70-300mm, which is damaged and lying around, and another (useless) lens in my pack; the old Canon EF-S 18-55mm.
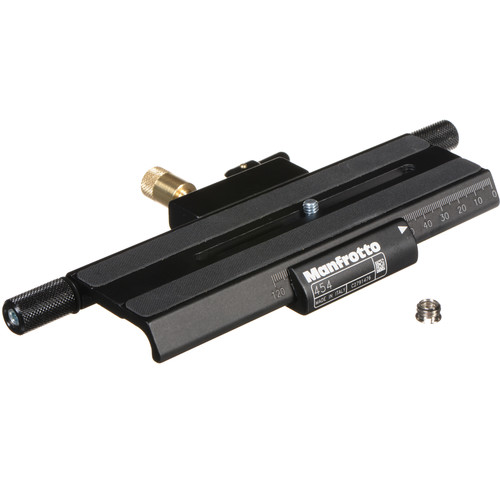
I didn't want to use my Sigma 70-300mm here. It's relatively new and I didn't use it often. It has a better glass quality compared to the cheap Tamron, but I don't want to risk it in such setting. According to calculations, Tamron at 300mm plus two x2 teleconverters should yield a total of 1200mm. When combined with 18-55mm at 18mm in reverse, then the magnification should be (supposedly): 1200/18=66.66x, or approximately 67x. Meaning, 1mm dot would be projected on the sensor as 67mm (6.7cm, 2.6in), which is slightly more than what has been calculated in the previous proposed setting (of 800mm mirror lens and 50mm lens in reverse). This case was easier to be done as you can see from the image above. I had to spend some considerable time trying to improvise a way to hold the sample in this experiment and to provide a strong light source at its back (I tried to cast the light from the front but to no avail). Focusing is pretty delicate so I used the macro rail to move the sample in some way, and I ended up using the Bulb mode and managing the time empirically without doing any calculations. Just trial and error. Maybe with some considerable time, I can enhance this setting.
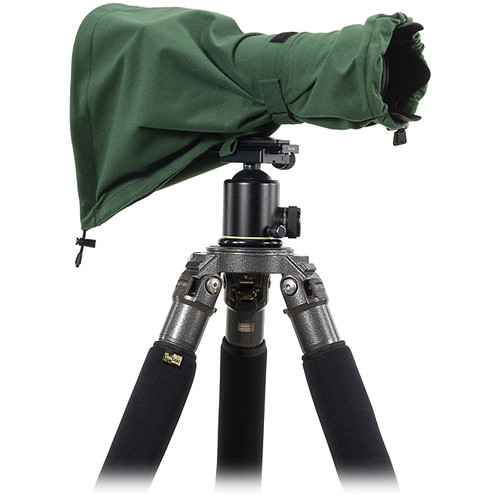
The good thing about the horizontal position is that the weight and the pulling force on the camera's body (the lenses consequently) is significantly small, while the whole system was carried by Manfrotto's telephoto lens support. Usually it is a problem because in many occasions this support would make moving the focusing ring (or even zooming) cumbersome, but it's not a problem here because everything is set and the lenses are not supposed to be touched. The only thing to change here is the macro rail distance to move the specimen. I had some problems with the rail itself too, since the screw to move the rail was knocking on the lens' front - but the focusing required kept this screw away from the front for some considerable distance. Anyway, that doesn't mean it might not be a problem in the future!
The results were not much of artistic nature nor a clear variety. But it's a beginning. Probably if the lenses' qualities were better the images would have been better? Who knows!
Shooting in RAW is absolutely a must here. Using a remote and a portable monitor is also a must. In using Bulb mode in the camera, the LiveView (which is transmitted to the portable monitor) mimics the light conditions a bit to see through what to focus on, but this is of course in no way the final result to be expected - Bulb mode is about arbitrary timing. This is one of the benefits for working in Bulb mode in such a situation because using other modes like Av would make it hard to mimic the light. ISO-wise, I think it's hard to expect something below ISO400. Long exposure can be done but it's not advisable I'd say - we need to do shots fast relatively to avoid any sudden shake.
It is a common practice in (regular) macro to use a stop around f/8 and more to gain some acceptable depth of field. Here, however, I don't think this rule of thumb holds - in fact I'm not even sure if a higher stop would do any good, but anyway I used the highest f-stop possible. It is recorded as f/72 but this is a false reading because Vivitar's teleconverter doesn't communicate information with the camera's body. Thus, by re-calculating the f-number under the new focal length (1200mm), the value should be around f/128. You can see from the images above that even such depth is not really strong enough which makes me suspicious about the usefulness of raising the f-stop here. If using a low f-stop would yield almost same results, then it might be fit for this experiment to allow more light in and make my life easier!!!
Been some time trying to polish some simple mathematics in my brain. I didn't use my brain in a while! It had been a while now as I was trying to find some relation between the rule of thirds (ROT) and the rule of golden spiral (RGS) in terms of the difference between the two "power point" in both systems.
One of the major difficult points here is that the two systems are adapted for different ratios of frame. Previously, I've worked with a frame of 3:2 ratio, as it is the ratio usually adapted for most cameras nowadays. However, it was a bit cumbersome in terms of some mathematical identities, thus I've decided to work with φ:1 ratio and adapt the results I could get as an approximation. Numerically, the (3:2) ratio is equivalent to 1.5, while (φ:1) ratio is equivalent to 1.618, meaning a difference of around 0.1 unit; I guess something that can be neglected.

In the beginning I had to use an approximation for the power point in RGS, which I've found in this page. As can be seen in the page, the power point or the center of the spiral can approximated by two diagonals: one for the whole frame, and one for the smaller rectangle after rectangle rabatment (marked with the blue line). The ROT is marked with red lines. The segment I'm seeking here is SG and the angle θ. One of the good points about having such ratio for the frame is that the ratios AB:AG, and AG:AB is equal to the golden ratio: φ. This postulate makes it easier to do some mathematics here. Well, not going to list everything done here, but it turns out that:
What I'm hoping for is to use this simple information item in various settings, like in the camera's LiveView for example, or in Photoshop itself, even though I heard that newer versions have several systems implemented for cropping. I'm not sure how I'm going to do this, specially in Photoshop, but it surely needs a lot of experimenting with various photos. Another interesting method would be the diagonal method, which was developed (or discovered) by the Dutch artist Edwin Westhoff. The Diagonal Method specifically is well suited for 3:2 frame. Would be interesting to see this kind of grid available for work in the coming generations of digital cameras.
Extreme
They say we had a "supermoon" this week, specifically on July 12th. It did sound like a good idea to try out my Rokinon mirror lens of 800mm, with two 2x teleconverters (for a total of 3200mm). However, and pardon me, just thinking about working in this weather and heat (even at night) with my cumbersome schedule now, did sound more like a fantasy! And with "fantasy" I mean something to be found in children's book or Hollywood movies.
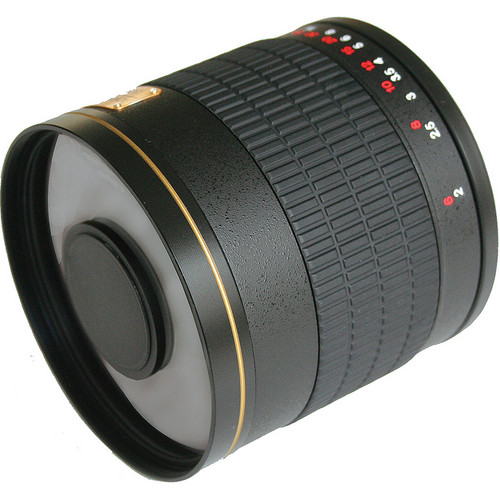 |
| Rokinon 800mm mirror lens. Source: B&H |
 |
| The final setting. Teleconverters and not shown here. Click to Enlarge. |
I didn't want to use my Sigma 70-300mm here. It's relatively new and I didn't use it often. It has a better glass quality compared to the cheap Tamron, but I don't want to risk it in such setting. According to calculations, Tamron at 300mm plus two x2 teleconverters should yield a total of 1200mm. When combined with 18-55mm at 18mm in reverse, then the magnification should be (supposedly): 1200/18=66.66x, or approximately 67x. Meaning, 1mm dot would be projected on the sensor as 67mm (6.7cm, 2.6in), which is slightly more than what has been calculated in the previous proposed setting (of 800mm mirror lens and 50mm lens in reverse). This case was easier to be done as you can see from the image above. I had to spend some considerable time trying to improvise a way to hold the sample in this experiment and to provide a strong light source at its back (I tried to cast the light from the front but to no avail). Focusing is pretty delicate so I used the macro rail to move the sample in some way, and I ended up using the Bulb mode and managing the time empirically without doing any calculations. Just trial and error. Maybe with some considerable time, I can enhance this setting.
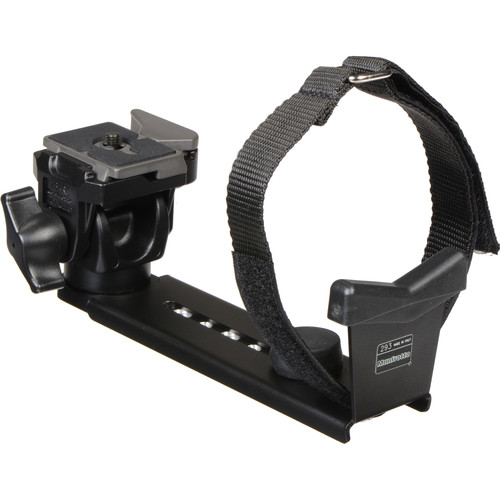 |
| Manfrotto telephoto support Source: B&H |
Results
The results were not much of artistic nature nor a clear variety. But it's a beginning. Probably if the lenses' qualities were better the images would have been better? Who knows!
 |
| Sun Side |
 |
| Shade Side |
Shooting in RAW is absolutely a must here. Using a remote and a portable monitor is also a must. In using Bulb mode in the camera, the LiveView (which is transmitted to the portable monitor) mimics the light conditions a bit to see through what to focus on, but this is of course in no way the final result to be expected - Bulb mode is about arbitrary timing. This is one of the benefits for working in Bulb mode in such a situation because using other modes like Av would make it hard to mimic the light. ISO-wise, I think it's hard to expect something below ISO400. Long exposure can be done but it's not advisable I'd say - we need to do shots fast relatively to avoid any sudden shake.
It is a common practice in (regular) macro to use a stop around f/8 and more to gain some acceptable depth of field. Here, however, I don't think this rule of thumb holds - in fact I'm not even sure if a higher stop would do any good, but anyway I used the highest f-stop possible. It is recorded as f/72 but this is a false reading because Vivitar's teleconverter doesn't communicate information with the camera's body. Thus, by re-calculating the f-number under the new focal length (1200mm), the value should be around f/128. You can see from the images above that even such depth is not really strong enough which makes me suspicious about the usefulness of raising the f-stop here. If using a low f-stop would yield almost same results, then it might be fit for this experiment to allow more light in and make my life easier!!!
φ
Been some time trying to polish some simple mathematics in my brain. I didn't use my brain in a while! It had been a while now as I was trying to find some relation between the rule of thirds (ROT) and the rule of golden spiral (RGS) in terms of the difference between the two "power point" in both systems.
One of the major difficult points here is that the two systems are adapted for different ratios of frame. Previously, I've worked with a frame of 3:2 ratio, as it is the ratio usually adapted for most cameras nowadays. However, it was a bit cumbersome in terms of some mathematical identities, thus I've decided to work with φ:1 ratio and adapt the results I could get as an approximation. Numerically, the (3:2) ratio is equivalent to 1.5, while (φ:1) ratio is equivalent to 1.618, meaning a difference of around 0.1 unit; I guess something that can be neglected.
In the beginning I had to use an approximation for the power point in RGS, which I've found in this page. As can be seen in the page, the power point or the center of the spiral can approximated by two diagonals: one for the whole frame, and one for the smaller rectangle after rectangle rabatment (marked with the blue line). The ROT is marked with red lines. The segment I'm seeking here is SG and the angle θ. One of the good points about having such ratio for the frame is that the ratios AB:AG, and AG:AB is equal to the golden ratio: φ. This postulate makes it easier to do some mathematics here. Well, not going to list everything done here, but it turns out that:
- The angle (θ) is equal to -31.72o. The negative sign is to mark it as going under the x-axis. This angle would of course change by changing the location and perspective (in relation to the x-axis); it would be positive if the power point under inspection is the top right one, and it would be 180±31.72o for the left side.
- The segment under question, SG, is approximately equal to [(φ-1)√(1+φ2)], or it can be marked as [φ-1√(1+φ2)]. This is because (φ) as a numerical value is equal to (1.618), and consequently: (φ-1) and φ-1 are both equal to approximately (0.618). Going further with more decimals seems unnecessary in this occasion.
- Numerically now, the segment SG is approximately equal to (1.176), or expanded little bit it would be (1.1755).
Finale
Here I am, just waiting for the month of Ramadhan to pass. It's not something weird to happen in fact; I do suffer from insomnia and sleeping problems all year long and it doubles every Ramadhan almost, but the thing is different now with extra annoyances at work, and a tiresome body. I think this is what they mean by "getting older".
When this is all over, there is so much to do as well. Schedule a new appointment if possible, and prepare for my travel. Though I need such a travel to rest my mind a bit and enjoy my photography, I do wish if I was accompanied by someone. Someone special...